On Marvelously Made Mondays I'm always posting everyone else' projects and DIY ideas. So I figured I better post some of my own! First up... Caramel Apples
You probably don't even need instructions on how to make these. But I wouldn't have tried making them unless I had seen well written out instructions myself! : )
I just bought these caramels they came with Popsicle sticks in them for making caramel apples. But normally you'd have to buy those seperately. They had them at Walmart for 1.75 for a huge Pack.
I bought 2 of these bags and they barely did 8 apples.
Then you melt the caramel on medium low in a pan...pretty easy
But have all your apples washed, and prepped with popsicle stick already in them. Because once the caramel is ready you have to hurry! Then take the apple on the stick hold it over the pan and pour it on to your apple with the spoon untill it's covered.. Let the excess drip off for a few seconds and then roll it in your toppings.
I'm a crazy sprinkle lover... So of course I had to have sprinkles!
Note: At first I didn't realize the caramel came with popsicle sticks so I bought these Candy Apple white sticks... Thinking they would be cuter. Such a bad idea. They were so weak they would bend and could barely hold the apple. And it was so hard to stab them into the apple. Definitely use POPSICLE sticks!
I bought these bags to put the apples in... FYI they were too skinny and I ended up having to cut them and use to to wrap it completely around the apple. So my advice is to make sure the Bags are bigger than the apples you are trying to put them in. You really only need bags if you are giving them away. I gave them away for Visiting Teaching. Otherwise I would have just put them on a cute platter and called it good!
Finally the finished product! They turned out really cute. It was a lot easier than I thought it would be. But the caramel did start to kind of fall down the apple. But as soon as I put them in the fridge it was fine. So put them into the fridge immediately after to you dip them. And when you want to actually eat the apple. You'll probably have to microwave it for like 15 seconds because the fridge hardens the caramel so much!
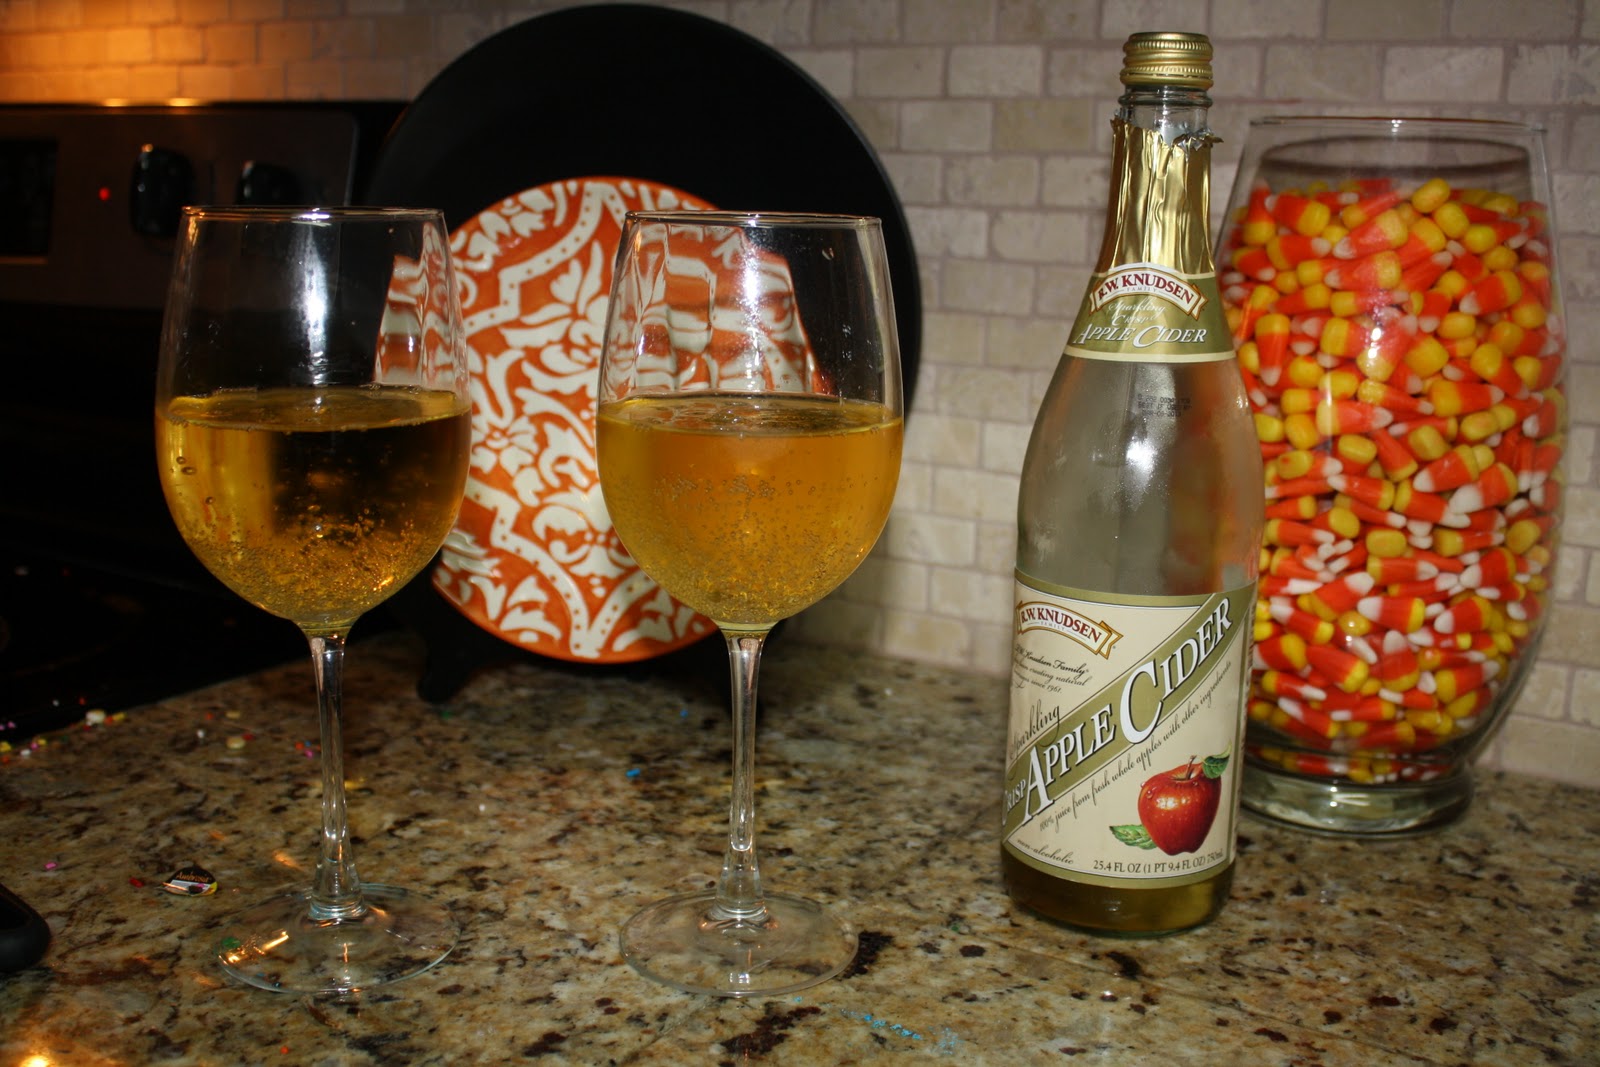
And of course you have to finish it off with Apple cider! I love it whenever I buy this the cashiers always ask for my ID! It always makes me laugh : )
This will now be a yearly tradition: Making caramel apples and carving pumpkins! Here is what Brody thought about Carving pumpkins!! : )


Here is a wreath I literally threw together in 5 minutes. I was feeling sad that I didn't have a Fallish wreath on my door. And I had been picturing a green wreath with lots of white pumpkins! And I couldn't find anything like it anywhere!Well when you wait this long into fall. There isn't much to choose from... These were all the white pumpkins I could find!! They were there very last ones and I had to steal them ( I paid for them) off the HUGE Hobby Lobby Holiday tree display because they were the last ones! I really should of /could of put a lot of more time and effort into this wreath and made it spectacular... A cute Brown bow... pinecones... some type of white gourd with a little orange would be nice too! But I was WAY too burnt out on Fall decorating. So this is what it came to! But I am happy with it. I love how Big it is and I love how inexpensive it was to make... and I LOVE green so it fits me perfectly! I will probably take off the pumpkins and gourds and do something with red in it to make it Christmasy! Anyway... Here is the breakdown on cost:
All items bought at Hobby Lobby:
Grapevine Wreath: $5.49 (50% off Sale on top of that) so $2.75
Long Green Berry Garland $6.99(also 50% off on top of that) so 3.49
White Pumpkins 1.50 Each
Green gourds 1.50 Each
so with a total of 5 of them (also 50% off) $3.75
So not bad if I do say so myself! : )
You have got to see this before picture to get the full effect! Click below to go to her blog to see it! I could not get the before picture to show up!! But seriously one of the best transformations ever!! : ) I am loving it when people put fabric or cute paper on the back of shelving or cabinets. It's so cute! And it wouldn't be that hard to change out when you get tired of it.
Okay this has been a favorite of my mine for a while. I've seen similar things on other blogs for a while. So I finally had to post about it! I LOVE love LOVE this idea. This first wreath is with acorns... Just glueing them to the wreath. It turns out so cute. I could see something like this selling for a lot in Pottery Barn. I love things that don't necessarily have that home made look about them. Which is why I love this so much! Check out all the colors you could do for every Holiday! I'm partial to the green and white!